Thailand e‑Visa (Thai eVisa): Complete How‑To Guide
Step-by-step guide to Thailand’s official e‑Visa system (thaievisa.go.th): eligibility checks, choosing the right embassy/consulate, uploading documents, paying fees, tracking status, and avoiding common rejection reasons.
Last updated: 22 Feb 2026.
Thailand’s official e‑Visa system lets you apply online through thaievisa.go.th for many visa types (tourist, some non‑immigrant categories, and more). This page focuses on what travelers actually need: how the system works, how to choose the correct embassy/consulate, which documents usually cause rejections, and how to avoid delays.
Important: The e‑Visa system is run by Thailand’s Ministry of Foreign Affairs. Each Thai embassy/consulate sets its own document checklist and processing rhythm. Always follow the specific requirements shown after you select your location and visa type.
Quick summary (what most people get wrong)
✅ Do this
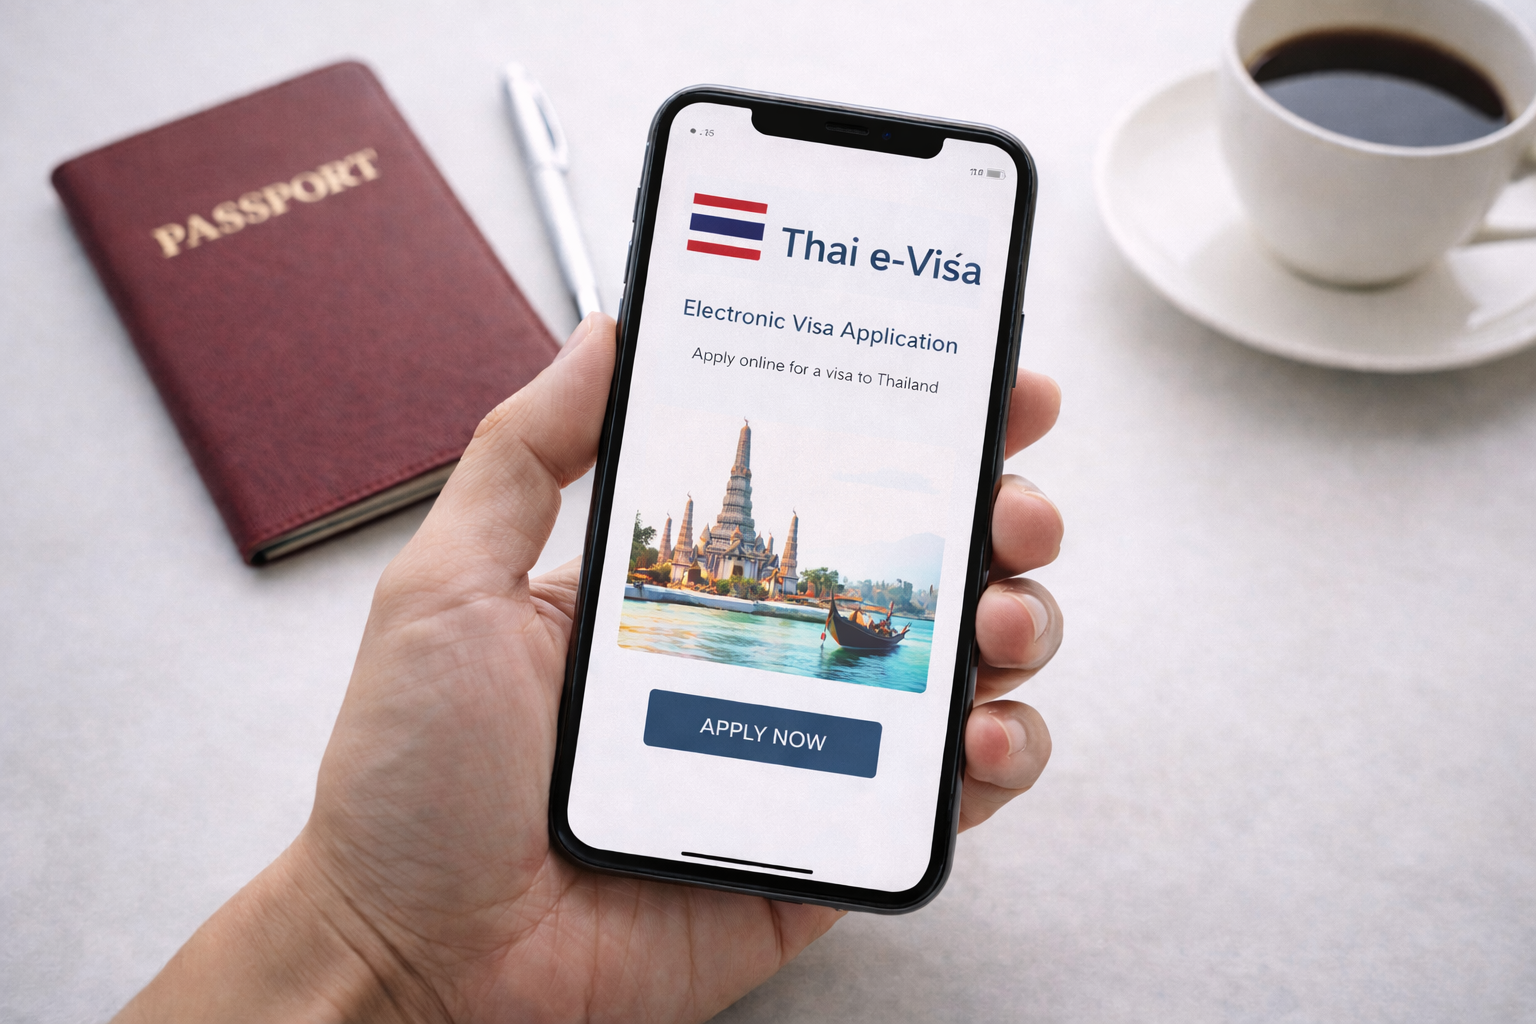
- Apply through the official portal: https://www.thaievisa.go.th/
- Choose the correct “Current Location” and issuing embassy/consulate (this controls the checklist you must follow).
- Upload clear PDFs/JPGs (not screenshots of screenshots) and keep filenames simple.
- Apply early. Many missions recommend applying at least ~15 working days before travel.
❌ Avoid this
- Applying from a country where you are not physically located / not within the mission’s jurisdiction.
- Uploading documents that are blurry, cut off, or missing your name/date.
- Paying and assuming approval is guaranteed (fees are generally non‑refundable once submitted).
How Thai e‑Visa works (step by step)
Step 1: Check if you need a visa
Use the portal’s “Do I need a visa?” / eligibility check first. If you are visa‑exempt, you may not need a tourist visa at all.
.png)
Helpful next steps:
Step 2: Create an account and verify your email
You’ll create an account, then confirm via an email verification link. If you don’t receive the email:
- Check spam/junk
- Try the “resend” option from the login page
- Use a major email provider (some corporate mail filters block automated links)
Step 3: Start a new application (choose location correctly)
The e‑Visa system asks for:
- Country/Territory of passport
- Current location (where you are physically applying from)
- “Apply at” (the Thai embassy/consulate that will process your case)
- Visa type + entries + purpose
This is the most important step because it determines:
- What documents are required
- Which embassy/consulate processes your application
- Fee/payment channel rules
Step 4: Upload core identity documents
Most visas will ask for:
- Passport biodata page (validity requirement varies by visa)
- A recent passport-style photo
- Proof of current location (residence card, bank statement, proof of stay, etc.)
Step 5: Add trip details + supporting documents
Depending on visa type, you may need:
- Itinerary / flight booking (often can be a reservation)
- Accommodation proof (hotel booking / address)
- Financial evidence (bank statements showing balance, pay slips, sponsor letter)
- Purpose evidence (tour booking, activity confirmation, enrollment letter, etc.)
Step 6: Pay the visa fee
Payment is typically by credit card through the portal (some missions allow “pay at embassy/consulate” workflows). Once paid and submitted, it’s usually treated as non‑refundable.
Step 7: Track status + respond to requests
Inside your dashboard you can:
- See status
- Upload additional documents if requested
- Download the e‑Visa approval document once issued
Step 8: Travel with your e‑Visa approval
Print it (recommended) and keep a digital copy. Airline check‑in staff may ask to see the approval document.
Common reasons applications get delayed or rejected
1) Wrong “Current Location” / wrong mission
Many applicants select a country they are not actually in. Missions can refuse or request additional proof.
2) Blurry or incomplete documents
Common offenders:
- Bank statement missing your name or date
- Passport photo cut off
- Scans that are too dark to read
3) Weak proof of purpose
For example:
- DTV Soft Power: missing the activity confirmation
- ED: missing enrollment letter or education authority letter
- Tourist: itinerary/accommodation looks inconsistent
4) Not enough time before departure
Even if the official timeline is short, real-world processing can spike during holidays and peak travel seasons.
Document checklist (practical “traveler version”)
These items reduce risk across most visa types:
.png)
- Passport with healthy validity (many visas want 6+ months; some want more)
- A clean passport-style photo (plain background)
- Proof you are applying from where you say you are
- Bank statements that show:
- your name,
- dates,
- ending balance,
- and a recognizable bank header/logo
- A simple itinerary (arrival/departure dates + where you’ll stay)
- A single PDF that explains your purpose in plain language (“cover letter”)
FAQs
Is Thai e‑Visa the same as an “agent website”?
No. There are many private agent sites that look official. The official portal is thaievisa.go.th.
.png)
Can I apply from Thailand?
Most e‑Visa applications are designed to be submitted while outside Thailand. If you’re already in Thailand, you usually use Thai Immigration processes (extensions, change of status, etc.) depending on your case.
How early should I apply?
If possible, give yourself several weeks. Some missions explicitly recommend applying at least ~15 working days before travel.
Do I need to print the approval?
Printing is highly recommended. You may need it at airline check‑in and on arrival.
Related pages (next steps)
Official references (start here)
- Thai e‑Visa official website: https://www.thaievisa.go.th/
- Official e‑Visa user manual (PDF): https://thaievisa.go.th/static/English-Manual.pdf